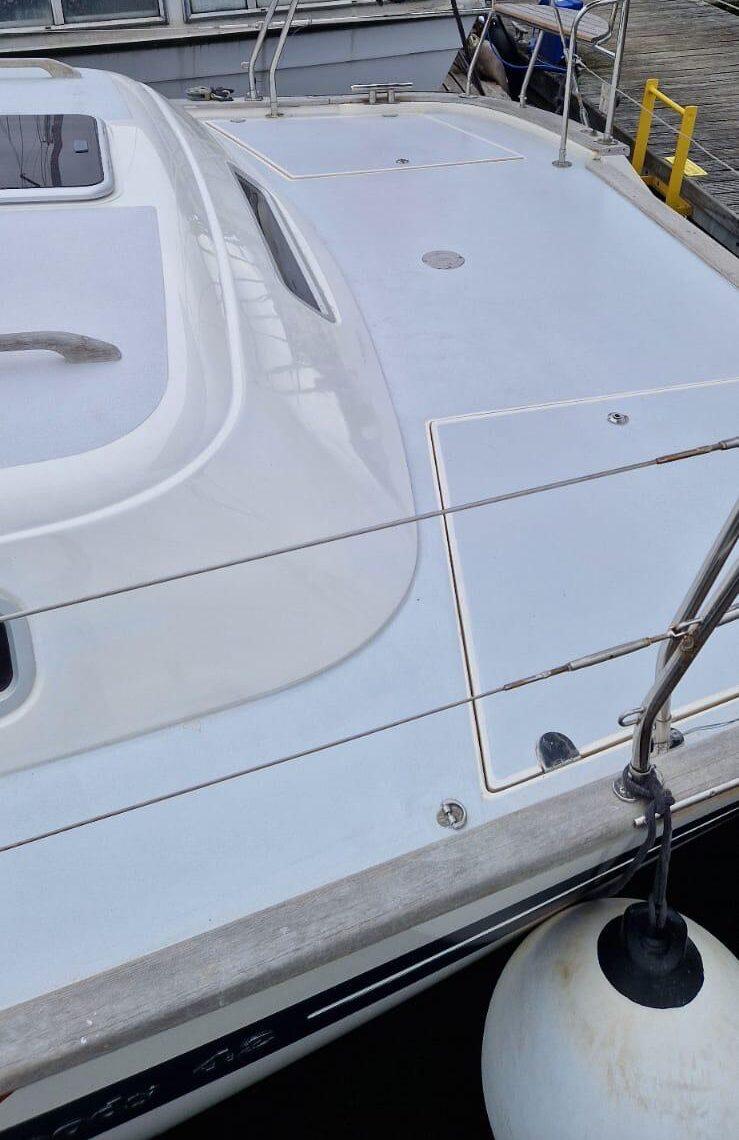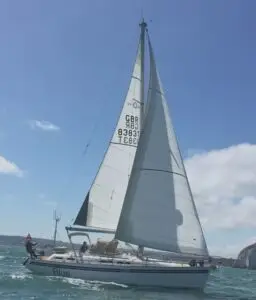
The deck looked quite nice when we first saw Blue of Hamble in Lanzarote. Boats always look nicer on the first few occasions, mainly because of the rose tinted spectacles it is obligatory to wear when viewing yachts you are keen to buy. Plus a few cervezas when in Spain!
We noticed some patches where the caulking was maybe a little wider than it should have been and were told that the solution, in a number of places, had been a tube of sikaflex and a heavy weight left on it overnight.
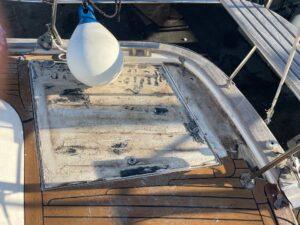
Turns out it was the early Flexiteek, a plastic teak lookalike that was applied when the previous owner bought the boat ten years prior. We would come to learn that the adhesive was failing and that there were several areas that needed attention. So what to do?
Our houses have always been well presented and we wanted our boat, our liveaboard home, to be something we could be proud of. A Moody 42 is never going to be Nautor Swan, but it can be well presented and well maintained. That became our aim.
We initially budgeted to replace the Flexiteek, but still we were in two minds about what to do. So we asked the yard in Portland to investigate and they duly took off an area over one of the lazarettes and fed back. We didn’t expect so much to be removed so there was no going back. We found it wet underneath and as we thought the adhesive was failing, likely from the sun the boat had endured when moored in Lanzarote.
So we gained quotes for a replacement and that meant samples, lots and lots of samples, so we could choose the right colour. It also meant we could experiment with heat retention. We had read that natural teak can get hot in warmer climes and that the plastic alternative even hotter, so our samples were placed in the air fryer we were testing out at home to see how hot it felt. The different brands did have different heat retentions and in the end we chose to go with a brand called Evodeck.
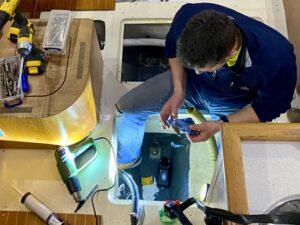
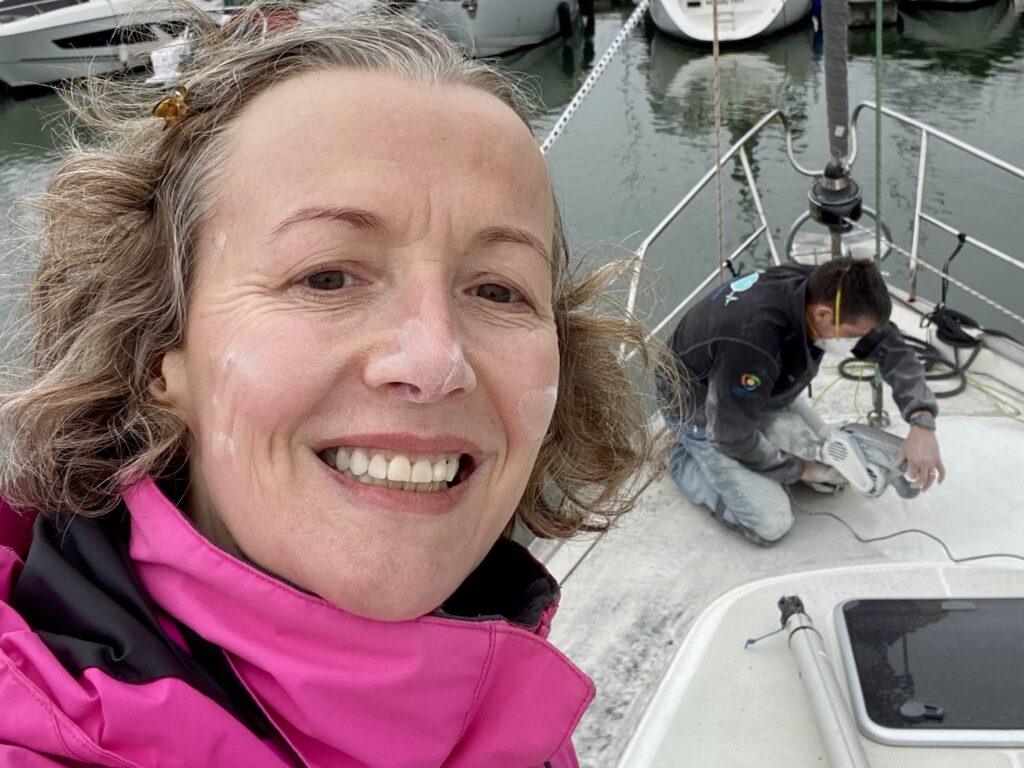
In the meantime we needed to prepare the deck as we knew that having a yard take off the original would be costly and it was something we both could do. We stated earlier that the adhesive was failing, but that was at the joins, the decking is constructed from plastic panels a little like flooring you might put in your kitchen. They are then hot welded together and in the centre of the panels the adhesive was still holding well.
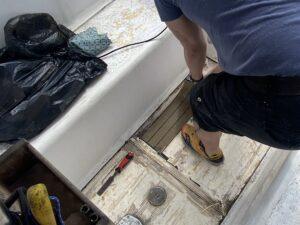
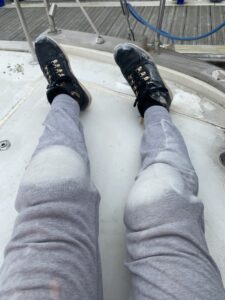
Through trial and error we found that prizing a corner of the old Flexiteek up with a sharp wood chisel, then grasping it firmly with a pair of grips gave sufficient purchase to start pulling it up. It was back breaking work and Chris found a technique of laying the end over his knee and using the force of his legs to prise away the old Flexiteek from the deck. In some places it was so well stuck small pieces of gel coat, the final layer of coating on the GRP hull, were pulled off.
Several hours later and it was all off, but the adhesive was still there. Now what? We’d read that using a twisted wire wheel would get it off and we had one that we had used previously on a polishing machine to clean the prop up. It worked well and removed a lot of the adhesive and the sikaflex that had been used for repairs, but it was important to be careful with it as it was easy to take more gel coat off.
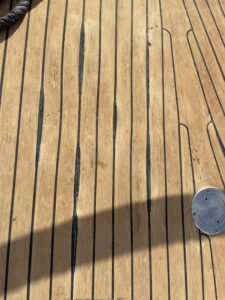
The next phase was sanding and we used a belt sander with a 40 grit belt that took the final layer of adhesive off and the deck back to the gel coat. The belt sander gets most of the adhesive off in the larger areas, but there was still loads to do with mouse sanders around the nooks and crannies. Several more hours spent sanding and we’d got the decks looking tidy but still needing a solution.
The heat of the fake teak was still on our minds and having worked so hard to take it off, we didn’t fancy doing it again in another ten years. The alternative was paint. The coach roof already had a grippy painted surface in the main wear areas and as we removed the teak life-raft stand and took old fittings from around the mast we had already decided that these would need sprucing up.
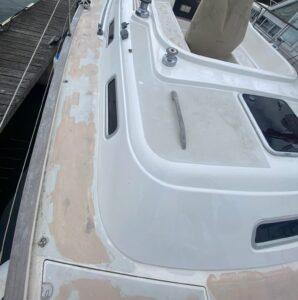
Finally we made the decision to paint the deck as we could get the grip we wanted, we could choose a lighter colour that would reflect the sunlight and therefore keep the boat cooler and we could save some cash as it was cheaper than fake teak.
We moved the boat from Portland to Cobbs Quay marina in Poole where Lee Woodford and his team set about painting the deck. But before that, we asked them to do another job.
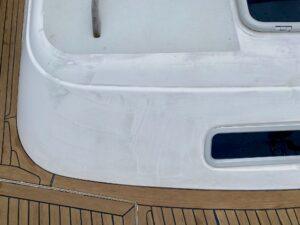
Back in Lanzarote we had seen that the gel coat had what looked like large paint brush marks over the gel coat in some areas. Initially we thought it was grime on the top layer mixed in with soap or wax, but our surveyor told us that it was likely the brush marks from the laying up process and that the Lanzarote sun had probably cooked the gel coat.
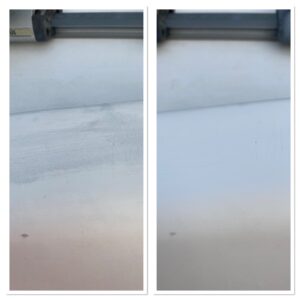
Jen was not deterred and following a yacht maintenance course that she attended, started sanding with a very fine grit to see what she could do. Happily it made a difference and we asked Lee to quote to cut back and polish the coach roof.
Arec, the superstar, spent days sanding and polishing and what a job it was when he’d finished. The coach roof was gleaming and he soon had the masking tape applied in order to paint.
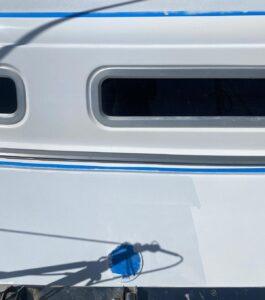
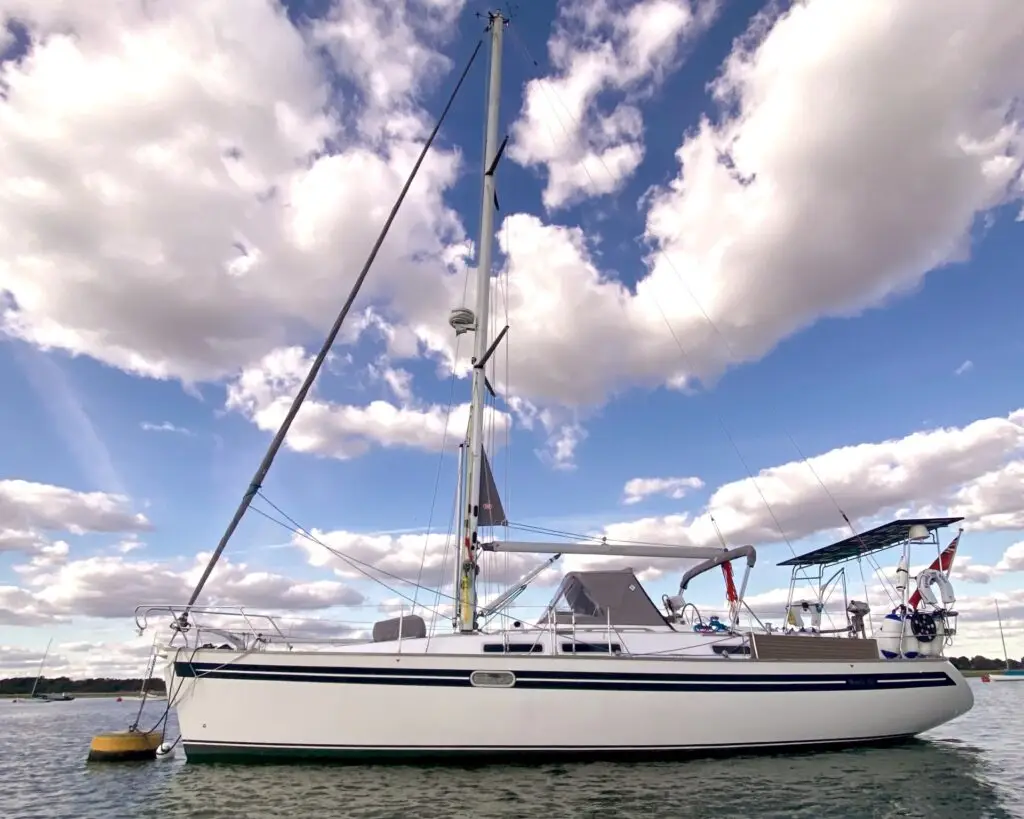
What a difference it made and Yanula Blue was now looking like a boat we could be proud to live on.
We’re writing this a whole season on and the decks and the coach roof still look great. We have many comments on how good she looks and, all in all, we reckon it’s mission accomplished.
Chris and Jen x